
There are open-source office suite software that you can self-host to keep your organization’s documents private, but many of them suffer from the same problem: poor compatibility with Microsoft Office or Google Docs. If you’re looking for a solution that’s both self-hosted and collaborative, consider ONLYOFFICE Docs: Community Edition. In this tutorial, I’ll show you how to install ONLYOFFICE Docs CE on an Ubuntu server.
A Quick Tour of ONLYOFFICE Docs Community Edition
Before you take the leap, you probably want to know if ONLYOFFICE Docs meets your needs.
So let’s do a quick tour of what it does and how it works.
What Can You Do With ONLYOFFICE Docs?
In short, OnlyOffice Docs lets you create documents, PDFs, spreadsheets, and presentations in a web browser—and invite others to collaborate.
Hosting ONLYOFFICE Docs CE on your server adds these benefits:
- Free: other solutions usually require a paid monthly subscription per user.
- Compatibility: ONLYOFFICE Docs might be the best at reproducing compatibility with MS Office file formats.
- Performance: faster than other cloud solutions when it comes to editing large files.
- Local access: if desired, you can run it from the local network only for privacy/security.
How Does ONLYOFFICE Docs: Community Edition Work?
First off, there’s one aspect I found unintuitive that you should know: OnlyOffice Docs CE doesn’t provide a stand-alone web app.
Instead, you need to integrate OnlyOffice Docs CE with your file-syncing platform.
For instance, popular choices include Nextcloud, ownCloud, or others listed here.
When you open the file on your platform, an integration app will load the ONLYOFFICE interface for editing.
Second, although there’s no limit on how many total collaborators you have, there’s a limit to how many can use this free version at the same time.
ONLYOFFICE Docs: Community Edition is limited to 20 simultaneous connections.
That means there could be 100 people in your organization with access, but only 20 users can have an editing tab open.
For those with greater needs, there’s a paid enterprise version instead.
Requirements for ONLYOFFICE Docs: Community Edition
OnlyOffice Docs CE can be installed on multiple platforms, but here are the requirements for this guide:
- Operating system: Ubuntu Server 24.04 or another Linux distro
- Processor: 1 CPU core minimum
- Memory: 2 GB RAM minimum with 4 GB swap
- Storage: 10 GB minimum.
These minimums work for a small team, but for more users, you’ll eventually want to increase your disk space and memory.
Want to skip the installation steps below? Try our 1-click installer for ONLYOFFICE CE from the LifeinCloud marketplace.
On our platform, you can resize your server hardware on the fly to grow along with your organization.
How to Install ONLYOFFICE Docs CE on Ubuntu Server 24.04
There are multiple ONLYOFFICE products out there, and their names can be rather similar.
In this guide, we’re going to be installing ONLYOFFICE Docs: Community Edition—the open-source and self-hosted backend.
1. Install dependencies.
Install the database and the message server: sudo apt install postgresql rabbitmq-server
Create the database user (change the password if desired): sudo -i -u postgres psql -c "CREATE USER onlyoffice WITH PASSWORD 'onlyoffice';"
Create the database: sudo -i -u postgres psql -c "CREATE DATABASE onlyoffice OWNER onlyoffice;"

2. Install ONLYOFFICE Docs
Create a secure signing key and add the repository:
mkdir -p -m 700 ~/.gnupg
curl -fsSL https://download.onlyoffice.com/GPG-KEY-ONLYOFFICE | gpg --no-default-keyring --keyring gnupg-ring:/tmp/onlyoffice.gpg --import
chmod 644 /tmp/onlyoffice.gpg
sudo chown root:root /tmp/onlyoffice.gpg
sudo mv /tmp/onlyoffice.gpg /usr/share/keyrings/onlyoffice.gpg
echo "deb [signed-by=/usr/share/keyrings/onlyoffice.gpg] https://download.onlyoffice.com/repo/debian squeeze main" | sudo tee /etc/apt/sources.list.d/onlyoffice.list
Refresh packages: sudo apt update
Install ONLYOFFICE Docs:sudo apt install onlyoffice-documentserver
You’ll be asked to provide the database password you set up earlier (‘onlyoffice’ in our example).
ONLYOFFICE will install Microsoft fonts for compatibility, so you’ll want to agree to the EULA that appears to continue.
If you don’t have Nginx yet, it will also be pulled in and installed as well.

Testing the ONLYOFFICE Backend
Let’s see if the backend is working as expected.
Point your browser to your server’s IP address. It should show something like this:
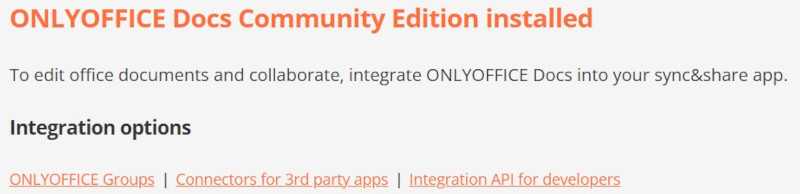
(Note: If the page doesn’t load, your firewall might be blocking port 80. See the FAQ below.)
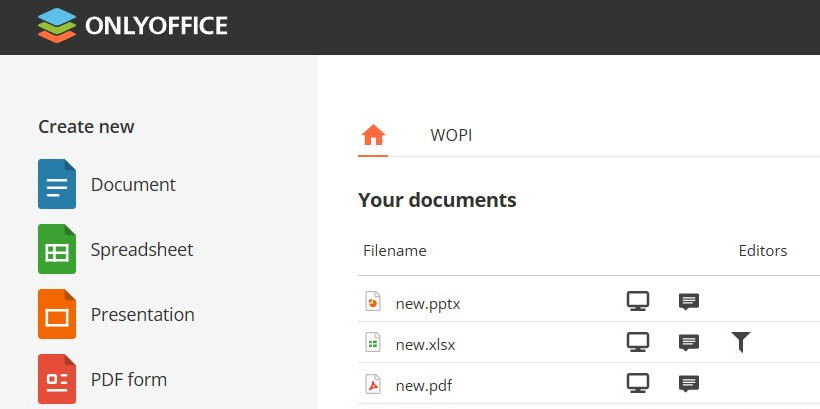
If you scroll to the bottom of this page, there are instructions to activate a demo.
The demo lets you play with the apps for editing documents, spreadsheets, presentations, and PDFs.
However, as mentioned earlier, we can’t use these tools in production unless we integrate them with another file-syncing platform.
I’ll show you how to do that next.
Integrating ONLYOFFICE Docs With Your File Platform
In this section, you’ll integrate ONLYOFFICE into your file-syncing platform of choice.
1. Open a compatible file-syncing solution or document management system.
There are many options here, but common self-hosted solutions include Nextcloud, ownCloud, and other options.
2. Install the ONLYOFFICE integration inside your chosen platform.
3. Configure the integration to connect to your ONLYOFFICE Docs CE server.
Steps will vary here depending on your platform. Generally, here are the things you’ll need to provide:
- Server address: the IP of your ONLYOFFICE CE server
- The header: usually “Authorization” (found in /etc/onlyoffice/documentserver/local.json)
- The secret string: also found in /etc/onlyoffice/documentserver/local.json

Congrats! Now your organization has a collaborative document solution that’s under your control.
FAQ for ONLYOFFICE Docs CE
Why can’t I load the ONLYOFFICE welcome page?
ONLYOFFICE Docs CE loads via the Nginx web server on default port 80. If you can’t get the welcome screen, it’s most likely your firewall is blocking it.
Check your UFW firewall (or the LifeinCloud firewall interface if you’re on our platform) to open access to port 80.
How do I give ONLYOFFICE enough swap space?
Here’s how to create a 4 GB swap file:
sudo fallocate -l 4G /swapfile
sudo chmod 600 /swapfile
sudo mkswap /swapfile
sudo swapon /swapfile
echo '/swapfile swap swap defaults 0 0' | sudo tee -a /etc/fstab
Check if it’s active: sudo swapon --show