
Previously, we talked about how Deepseek changed the idea of what AI could achieve through different models.
Now, let’s talk about how you can set up your own model using Linux and a few programs.
Installing Ollama on Linux or WSL
We are using an Ubuntu 24.04 machine, but you can use other Linux distros or even WSL in Windows, which is highly recommended.
Ollama is what we could call an interpreter for the models that are available publicly. You can find more about the models and Ollama on https://ollama.com.
Following the instructions provided by Ollama, we will run the following command:
curl -fsSL https://ollama.com/install.sh | shThis script will proceed to download and install Ollama on our system. We do not need to do anything else to get it to work!

Notice that it states there are no NVIDIA/AMD GPUs in our system and we are running in CPU mode. There are CUDA libraries for when we have a GPU available, which helps make this process much smoother.
Since we do not have a GPU, we will skip this process.
Running the Deepseek-R1 Model Locally with Ollama
So how do we try Deepseek-R1? We can do this as easily as running the command:
ollama run deepseek-r1:7bWhat this command will do is download Deepseek-R1, the 7 billion parameter version, and once it is completed, will drop us into the prompt for Deepseek-R1.
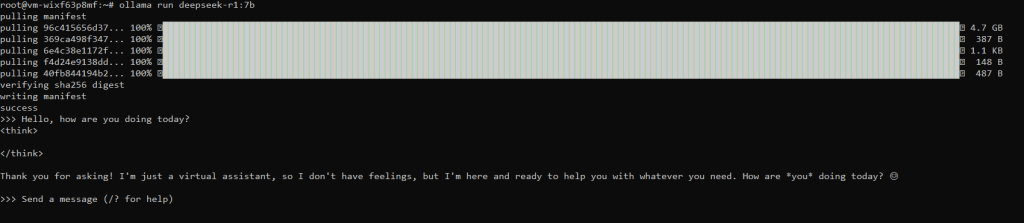
A little bit of a cold reaction from our virtual assistant, but I’m sure we can have a nice conversation.
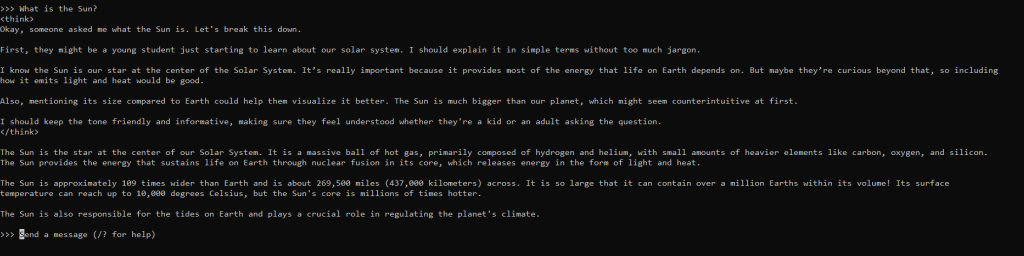
Quite the answer, and impressive to see the reasoning behind the answer provided by our own virtual assistant.
Setting Up Open WebUI for a Local ChatGPT-Like Interface
But what is all this without a more useful and friendly interface than the terminal? What if we had a web interface that we could share with others to try out?
For this we need to exit our conversation by typing /bye which will end Ollama for now.
First let us install Docker. The reason why we are doing this is because it is much simpler to install Open WebUI this way than installing everything directly on the OS.
For Docker, please refer to our guide on how to do this right here.
Once done, we can proceed to pull the container for Open WebUI by using the following command. This will get the container and configure it so that it runs from our local Ollama instance:
docker run -d --network=host \
-v open-webui:/app/backend/data \
-e OLLAMA_BASE_URL=http://127.0.0.1:11434 \
--name open-webui \
--restart always \
ghcr.io/open-webui/open-webui:main
Note: You may need to open ports on your firewall in order to get this to work. In our case, it is port 8080 that we are looking to open.
Accessing Deepseek in a Web Browser via Open WebUI
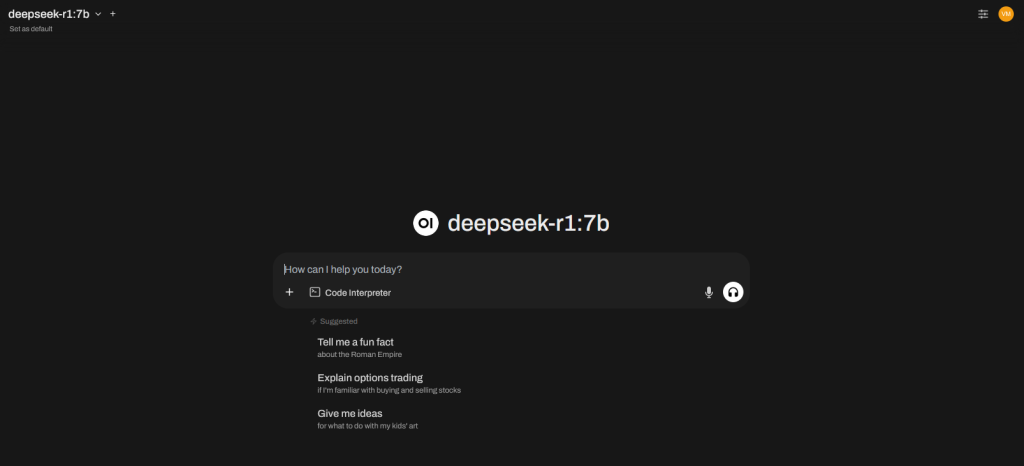
Once done, go to your IP address at port 3000 to find something like this waiting for you:

Click on Get Started and then fill up the requested information, and you will be thrown into the interface of Open WebUI, where we have our Deepseek-R1:7b model chosen by default.
Here is where we can do all our magic through a web interface and ask questions like the one we previously did.
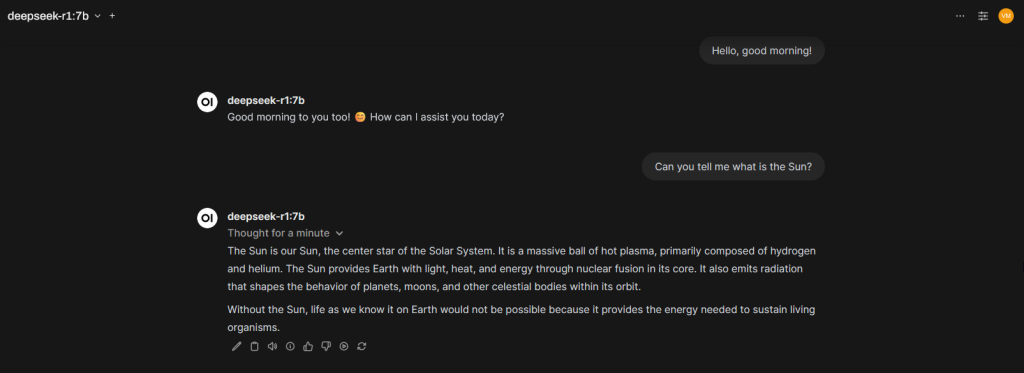
As you can see, being polite even with an AI model is a great way to ensure we are on the right side of things. You never know: it’s either an Isaac Asimov or Harlan Ellison world that we are facing one day.
The answer takes about the same time it does through the Ollama interface.
Final Thoughts on Running Private AI Models at Home
Get that old computer out of your basement or closet, or even get one just for the purpose of testing the power of AI in your house.
Remember that this model is yours. It is running in your environment. It does not need to connect to the internet and can contain all your private information.
As with ChatGPT, you can upload files and ask it to analyze them—be it code, stories, or even your homework!